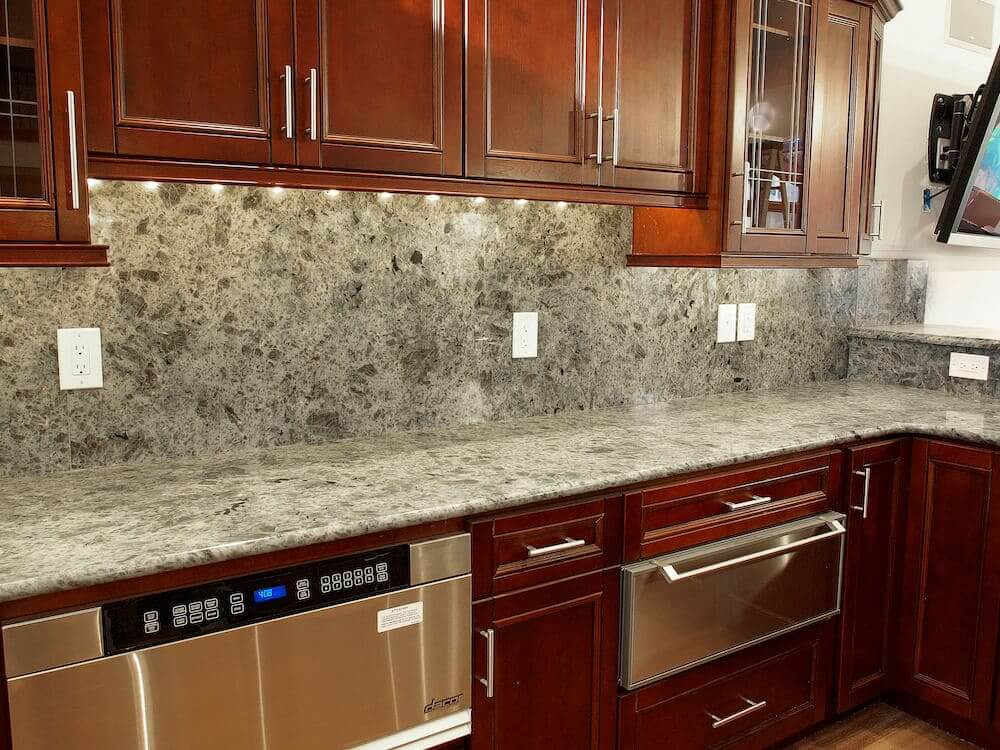
One of the most in-demand natural stones in kitchen construction, granite is a favorite with homeowners looking to add dollops of style. For many, granite is a great countertop option, but few know of the beauty it can lend your kitchen as a backsplash.
Backsplashes are, of course, a necessity in your kitchen. But if you plan aesthetic components carefully, a granite backsplash can improve your kitchen’s splendor by leaps and bounds. Let’s take a look at the process that goes into installing granite backsplash

How to install granite backsplash
Installing a granite backsplash involves several key steps to ensure a successful and visually appealing outcome. Begin by assessing the coverage area and making a decision on how much of the wall you wish to adorn with granite. Once determined, carefully measure and calculate the amount of granite material required. Next, select the style and color of the granite that complements your kitchen’s aesthetic. Prepare the wall by cleaning it thoroughly and ensuring it’s free of any damage or imperfections. With the wall ready, cut and install the granite backsplash precisely, applying mortar to secure them in place. After the granite backsplash is installed, apply the grout to achieve a polished finish. Allow the grout to dry, usually for a few days, and then apply a granite sealer for long-lasting protection.
Cover up with granite backsplash
A backsplash is designed to complement other elements in your kitchen. So, plan a backsplash that takes to the next level. When installing granite backsplash in kitchen, one of the first vital decisions you’ll have to make is the coverage area. Choose a granite backsplash that fits beautifully with your countertops while staying within your budget. Once you’ve made your decision, professionals will then measure out and recommend the precise amount of material required to install a backsplash in the kitchen.
Choosing granite backsplash for installation
With a clear estimate of the material you’ll need, it’s time to go shopping for your granite. These days, stone manufacturers and fabricators offer homeowners a variety of colors, styles, and textures. You can even source granites that are tailor-made to perfectly suit your budget and preferences, making your kitchen backsplash not just a functional addition but a style statement.
Granite backsplash installation
After sourcing your stone, skilled professionals will commence work on your kitchen walls. First, the designated area for the backsplash is cleared and thoroughly cleaned. To ensure a seamless installation, the wall must be devoid of any scratches, holes, grooves, or damage. This meticulous preparation allows the granite backsplash to be laid out evenly. The walls are also meticulously rid of grease and meticulously dried before the installation work begins.
The kitchen granite backsplash is pre-fit, with professionals cutting and preparing the stone to perfectly fit into your kitchen wall. During the final step, mortar is meticulously applied to the wall, and the granite is laid out with utmost care and precision.
Finally, skilled professionals conclude the project by skillfully applying grout to the backsplash. After a couple of days for the grout to dry, typically two or three days, a granite sealer is applied to protect the exquisite stone in the long run.
Installing granite backsplash in the kitchen is more than a construction process; it’s a transformative journey that elevates your kitchen’s elegance and functionality, reflecting your unique taste and style.
Conclusion
The process of installing granite backsplash involves careful planning, precise execution, and a selection of exquisite materials that harmonize with your kitchen’s design. This addition not only enhances the aesthetics but also provides practical benefits for years to come.
