
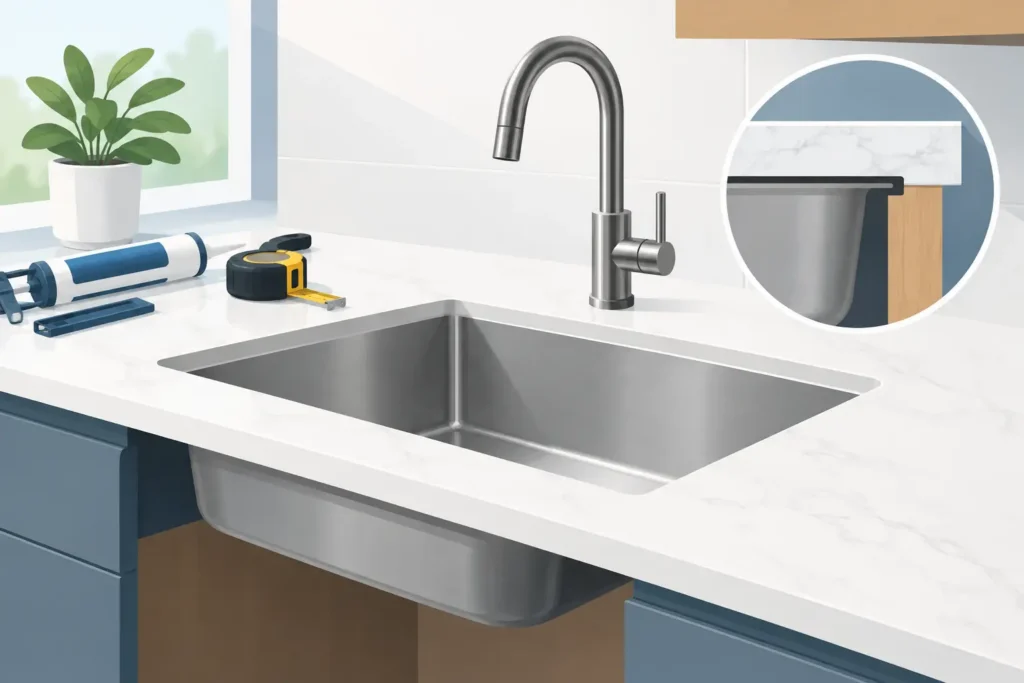
An undermount sink creates the clean, uninterrupted counter line many homeowners want in a kitchen or bathroom renovation. But undermount sink countertop installation is not simply a matter of cutting an opening and attaching a basin. The sink, countertop material, cabinet structure, faucet placement, and fabrication details all need to work together before installation day.
When those decisions are made early, the result looks refined and performs reliably for years. When they are left until the last minute, even a beautiful slab can be compromised by an awkward reveal, insufficient support, or a sink that does not fit the cabinet as planned.
Why undermount sink installation requires planning
Unlike a drop-in sink, an undermount model is secured beneath the countertop. Its rim is hidden from view, which lets crumbs and water wipe directly into the bowl without catching on an exposed edge. That clean appearance is a major reason it remains a popular choice for kitchens, bars, and bathroom vanities.
The trade-off is that the countertop edge around the sink opening becomes highly visible and must be fabricated precisely. Natural stone and engineered stone surfaces are strong, but the area around a large sink cutout needs thoughtful support and careful handling. A professional fabricator evaluates the slab, measures the sink itself, and plans the cutout before the countertop is installed.
Sink selection should happen before final measurements whenever possible. Even sinks labeled with similar dimensions can differ in rim shape, corner radius, bowl depth, drain placement, and required cabinet clearance. Providing the actual sink to the fabricator removes guesswork and allows the cutout to be tailored to that specific model.
The key decisions behind an undermount sink countertop installation
Choose the right sink size for the cabinet
A generous single-bowl sink can make meal prep and cleanup easier, especially in a busy family kitchen. Still, bigger is not always better. The sink must fit within the cabinet box while leaving room for mounting hardware, faucet connections, plumbing, pull-out accessories, and any necessary support rails.
Base cabinet width is only the starting point. A deep apron-front style, for example, may require modifications to the cabinet face and structural support beneath the sink. If you are replacing countertops but keeping cabinets, an on-site assessment can identify those constraints before fabrication begins.
Match the material to how you use the space
Granite, quartzite, marble, quartz, soapstone, and limestone each bring a different look and maintenance profile to an undermount sink area. The right decision depends on your design goals and daily routine.
Quartz offers consistent patterning and low-maintenance convenience, making it a frequent choice for hard-working kitchens. Granite and quartzite offer natural variation and excellent durability, while soapstone develops character over time and handles heat well. Marble and limestone can create a classic, luminous look, particularly in bathrooms or lower-impact areas, but they require a homeowner who is comfortable with natural patina and appropriate care.
Material selection also affects visual planning. A dramatic veining pattern should be positioned intentionally around the sink opening so the cutout does not interrupt the most compelling section of the slab. This is one reason showroom selection and fabrication expertise matter as much as the material itself.
Decide on the reveal
The reveal is the relationship between the countertop edge and the sink rim. It sounds like a small detail, but it has a noticeable effect on appearance and cleanup.
A positive reveal leaves a narrow portion of the sink rim visible. It can create a crisp, defined outline, though it may collect a little more debris along the exposed edge. A zero reveal aligns the countertop edge with the sink wall for a tailored, nearly continuous transition. A negative reveal slightly overlaps the sink rim, making cleanup easy but requiring careful fabrication so the overhang does not create a hard-to-reach ledge.
There is no single best reveal. The right choice depends on the sink design, your preferred look, and the fabricator’s recommendation for the selected material. Reviewing the options before cutting begins helps avoid surprises after installation.
What happens before the countertop arrives
A successful installation begins well before a crew carries the finished pieces into your home. Cabinets must be level, securely fastened, and set at the final height. A cabinet that is out of level can affect countertop seams, sink alignment, and backsplash fit.
The old countertop should be removed, and the workspace should be accessible for final measurements. During templating, the fabricator confirms cabinet dimensions, wall conditions, appliance clearances, overhangs, seam locations, faucet placement, and the exact sink position. This is also the time to discuss accessories such as disposal switches, soap dispensers, filtered water faucets, and air gaps.
Plumbing considerations deserve attention here. A deep sink can reduce the available space under the cabinet, particularly when paired with a garbage disposal. Drain pipes may need adjustment, and a centered drain is not always the most practical configuration. An experienced installer helps coordinate the countertop work with the cabinet and plumbing plan so each component has room to function.
How the sink is supported and secured
The countertop should not be expected to carry the full weight of an undermount sink, especially once the basin is full of water, cookware, and dishes. Professional installation uses an appropriate support method based on the sink’s weight, cabinet construction, and countertop material.
Support can include mounting rails, brackets, or a purpose-built support system attached to the cabinet structure. High-strength adhesive and mechanical mounting hardware are then used to secure the sink to the underside of the countertop. The joint is sealed to help prevent moisture from reaching the cabinet material below.
This is not a place to cut corners. Adhesive alone may not provide adequate long-term support for a heavy sink, and makeshift braces can shift or fail. Proper support protects the countertop, preserves the seal, and reduces the likelihood of movement that could lead to leaks.
Fabrication details that affect the finished look
The sink cutout is usually completed in the fabrication shop using precise equipment and finishing techniques. The exposed edge beneath the countertop may be polished or eased depending on the material, reveal style, and visibility. Smooth finishing matters because this area is frequently exposed to water and cleaning.
Faucet-hole placement also requires more thought than many homeowners expect. There must be enough clearance between the faucet, backsplash, and sink rim for installation and everyday use. If the faucet has a pull-down head, side handle, or wide mounting base, those dimensions should be reviewed before drilling.
For stone with pronounced movement, layout is equally important. A skilled team considers where veins will fall at seams, corners, and sink openings so the finished counter feels intentional rather than random. The most attractive slab is only part of the equation. Craftsmanship determines how well its character carries through the room.
Installation day and the final connections
On installation day, the countertop sections are carefully placed, leveled, joined at seams where needed, and secured. The undermount sink is set and sealed as part of the countertop installation process, while final plumbing hookups are typically completed afterward by a qualified plumber.
Before the crew leaves, inspect the alignment of the sink and faucet holes, the consistency of the reveal, and the fit against walls and cabinets. Minor wall variations are common in existing homes, which is why careful templating and professional fitting are so valuable. Allow any adhesives and sealants to cure according to the installer’s instructions before placing heavy items in the sink or reconnecting plumbing where applicable.
Once plumbing is connected, run water around the sink perimeter and check the cabinet below for any signs of moisture. A dry, properly sealed installation gives you confidence that the finished kitchen is ready for daily use.
Caring for the sink and countertop edge
The countertop material determines your day-to-day care routine, but every undermount installation benefits from the same basic habit: wipe away standing water near the sink edge rather than allowing it to sit for extended periods. This is particularly helpful around seams and for natural materials that may need periodic sealing.
Use cleaners recommended for your specific surface, and avoid harsh products that can dull finishes or weaken sealant over time. Do not hang heavy items from the sink or use the sink basin as a step or support point. If you ever notice movement, a gap in the seal, or moisture inside the cabinet, address it promptly before a small issue becomes cabinet damage.
For homeowners planning a kitchen or bath update in the Triangle, an in-person slab and sink consultation can make these choices much easier. Marble Unlimited can help you compare materials, confirm the installation details that fit your cabinets and lifestyle, and move forward with a countertop that looks considered from every angle.